Building Your First AI Agent: A Step-by-Step Guide
By - Blink AI Team / First Created on - September 10, 2025
- Step 1: Pick a Small, Clear Problem
- Step 2: Choose a Base LLM (Large Language Model)
- Step 3: Decide How the Agent Interacts with the Outside World
- Step 4: Build the Skeleton Workflow
- Step 5: Add Memory Carefully
- Step 6: Wrap It in a Usable Interface
- Step 7: Iterate in Small Cycles
- Step 8: Keep Scope Under Control

Artificial Intelligence (AI) agents are no longer just a futuristic idea — they’re practical tools you can build today. However, many beginners struggle because most resources are either too abstract or overhyped. If you want to build your first AI agent without getting stuck, this guide lays out a clear, actionable path.
Instead of trying to create a “general-purpose AI,” focus on one specific task. By following a structured process, you’ll not only get your first agent working but also gain the confidence to build more advanced systems in the future.
Step 1: Pick a Small, Clear Problem
Forget about building a “do-it-all” universal agent. Start small. Pick one specific job that you want your AI agent to handle:
-
Book a doctor’s appointment from a hospital website
-
Monitor job boards and send you relevant job matches
-
Summarize unread emails in your inbox
-
Schedule calendar events
The smaller and clearer the problem, the easier it is to design, debug, and improve.
Step 2: Choose a Base LLM (Large Language Model)
You don’t need to train your own model right away. Use a proven LLM that can already handle reasoning and structured outputs. Options include:
-
GPT models (OpenAI)
-
Claude (Anthropic)
-
Gemini (Google DeepMind)
-
Open-source models like LLaMA or Mistral
Pick a model that matches your budget, use case, and technical comfort.
Step 3: Decide How the Agent Interacts with the Outside World
An AI agent is only as powerful as the tools and APIs it can use. Some common integration points include:
-
Web scraping/browsing (Playwright, Puppeteer)
-
Email APIs (Gmail, Outlook)
-
Calendar APIs (Google Calendar, Outlook Calendar)
-
File operations (read/write to disk, PDF parsing)
Define exactly which tools your agent needs to perform its task reliably.
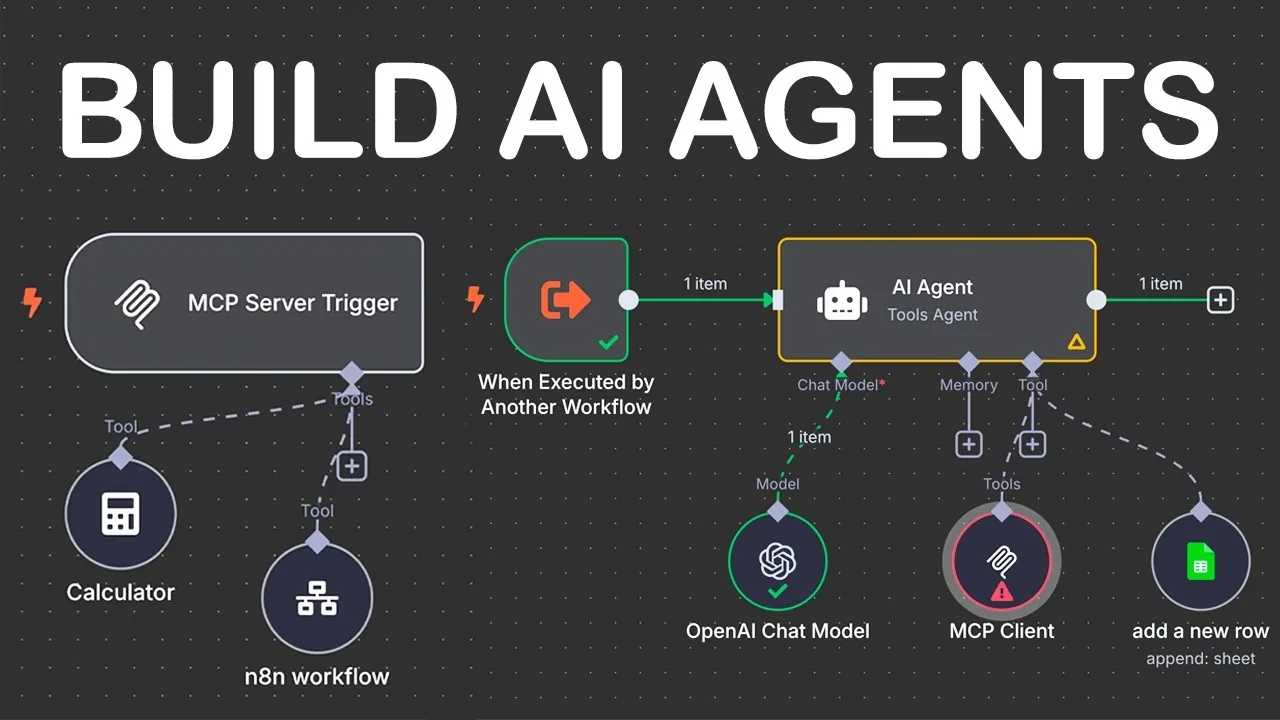
Step 4: Build the Skeleton Workflow
Don’t dive straight into complex frameworks. Start small and wire the basics:
-
Get input from the user (task or goal).
-
Pass it through the model with clear instructions.
-
Let the model decide the next step.
-
If a tool/API call is required, execute it.
-
Feed the results back into the model.
-
Continue until you have a final output.
This simple loop (model → tool → result → model) is the foundation of every working AI agent.
Step 5: Add Memory Carefully
Most beginners think they need massive memory systems from the start. In reality, you only need short-term context (last few messages). If your agent must remember information over time, use:
-
A simple JSON file
-
A database
-
A vector database (only when really necessary)
Add complexity only when your agent truly requires it.
Step 6: Wrap It in a Usable Interface
Once your agent works in a CLI, wrap it in a simple interface. Options include:
-
Web dashboard (Flask, FastAPI, Next.js)
-
Slack/Discord bot
-
Desktop app
-
Command-line script
The goal is to make your AI agent usable in real-world workflows.
Step 7: Iterate in Small Cycles
Don’t expect your first version to be perfect. Run real tasks, observe failures, patch bugs, and test again. The most reliable agents are built through dozens of small iterations.
Step 8: Keep Scope Under Control
Beginners often fall into the trap of constantly adding new tools and features. Resist this temptation. A single, well-functioning agent that can reliably book appointments or manage email is more valuable than an incomplete “universal” AI agent.
Key Takeaway
The fastest way to learn AI agent development is to build one small, specialized agent end-to-end. Once you’ve done that, building the next agent becomes 10x easier because you already understand the entire pipeline.
Instead of chasing the dream of a universal agent, start with one use case, implement it fully, and grow from there.